Windows iperf3: Difference between revisions
Appearance
Content deleted Content added
mNo edit summary |
mNo edit summary |
||
| Line 6: | Line 6: | ||
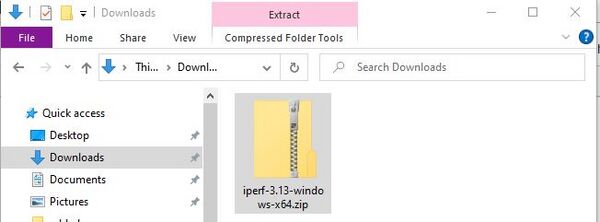
Download iperf-3.13-windows-x64.zip and save it to your computer, eg in your Downloads folder. |
Download iperf-3.13-windows-x64.zip and save it to your computer, eg in your Downloads folder. |
||
<gallery widths=600> |
<gallery widths=600 heights=300> |
||
Windows_iperf_1_download.JPG|Saved to Downloads folder |
Windows_iperf_1_download.JPG|Saved to Downloads folder |
||
</gallery> |
</gallery> |
||
Revision as of 12:22, 12 June 2023
1)
Download iperf-3.13-windows-x64.zip and save it to your computer, eg in your Downloads folder.
-
Saved to Downloads folder
2)
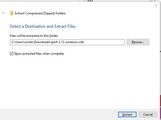
Right click on it, and select Extract all.
-
Extract
3)
Open up the Command Prompt - Click Start then type cmd and click on it.
4)
In the black box type: cd Downloads\iperf-3.13-windows-x64
5)
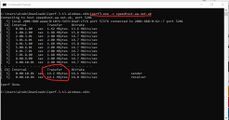
Run an speed test by typing: iperf3.exe -c speedtest.aa.net.uk (you may need to click 'allow access' if a Windows Defender window pops up
-
Results
By default, this will run a single-thread upload speedtest (sending traffic TO the speed test server).
Variations
There are variations you can do to test the speed as follows:
- Run a single-thread Download test:
iperf3.exe -R -P1 -c speedtest.aa.net.uk - Run a single-thread Upload test:
iperf3.exe -P1 -c speedtest.aa.net.uk - Run a 10-thread Download test:
iperf3.exe -R -P10 -c speedtest.aa.net.uk - Run a 10-thread Upload test:
iperf3.exe -P10 -c speedtest.aa.net.uk


