FireBrick 2700 Replace PSU: Difference between revisions
Appearance
Content deleted Content added
Tweaks |
→top: clean up, typos fixed: in it's → in its |
||
| Line 13: | Line 13: | ||
#: [[File:FB2700 PSU removed from Case.JPG|200px]] |
#: [[File:FB2700 PSU removed from Case.JPG|200px]] |
||
# Connect the green power cable from the new PSU to the PCB (now we're just going backwards over the same steps) |
# Connect the green power cable from the new PSU to the PCB (now we're just going backwards over the same steps) |
||
# Put the new PSU in |
# Put the new PSU in its correct position in the FireBrick case |
||
# Put the front fascia back in place and screw it in |
# Put the front fascia back in place and screw it in |
||
# Put the top cover back on and replace all the screws |
# Put the top cover back on and replace all the screws |
||
Latest revision as of 23:54, 17 August 2018
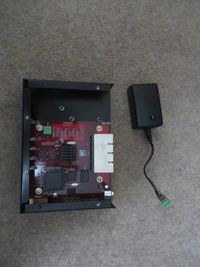
Sometimes, the PSU inside the FireBrick 2700 does fail. And you have to replace it...
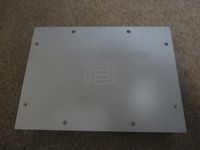
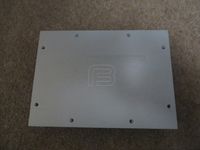
- Remove all the screw from the top of the case
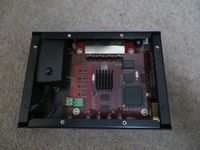
- Remove the lid
- Flip the FireBrick over and remove both the screws from the front of the case
- Remove the front fascia
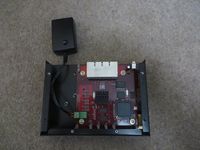
- Remove the old PSU from the case
- Unplug the green power cable from the PCB
- Connect the green power cable from the new PSU to the PCB (now we're just going backwards over the same steps)
- Put the new PSU in its correct position in the FireBrick case
- Put the front fascia back in place and screw it in
- Put the top cover back on and replace all the screws
